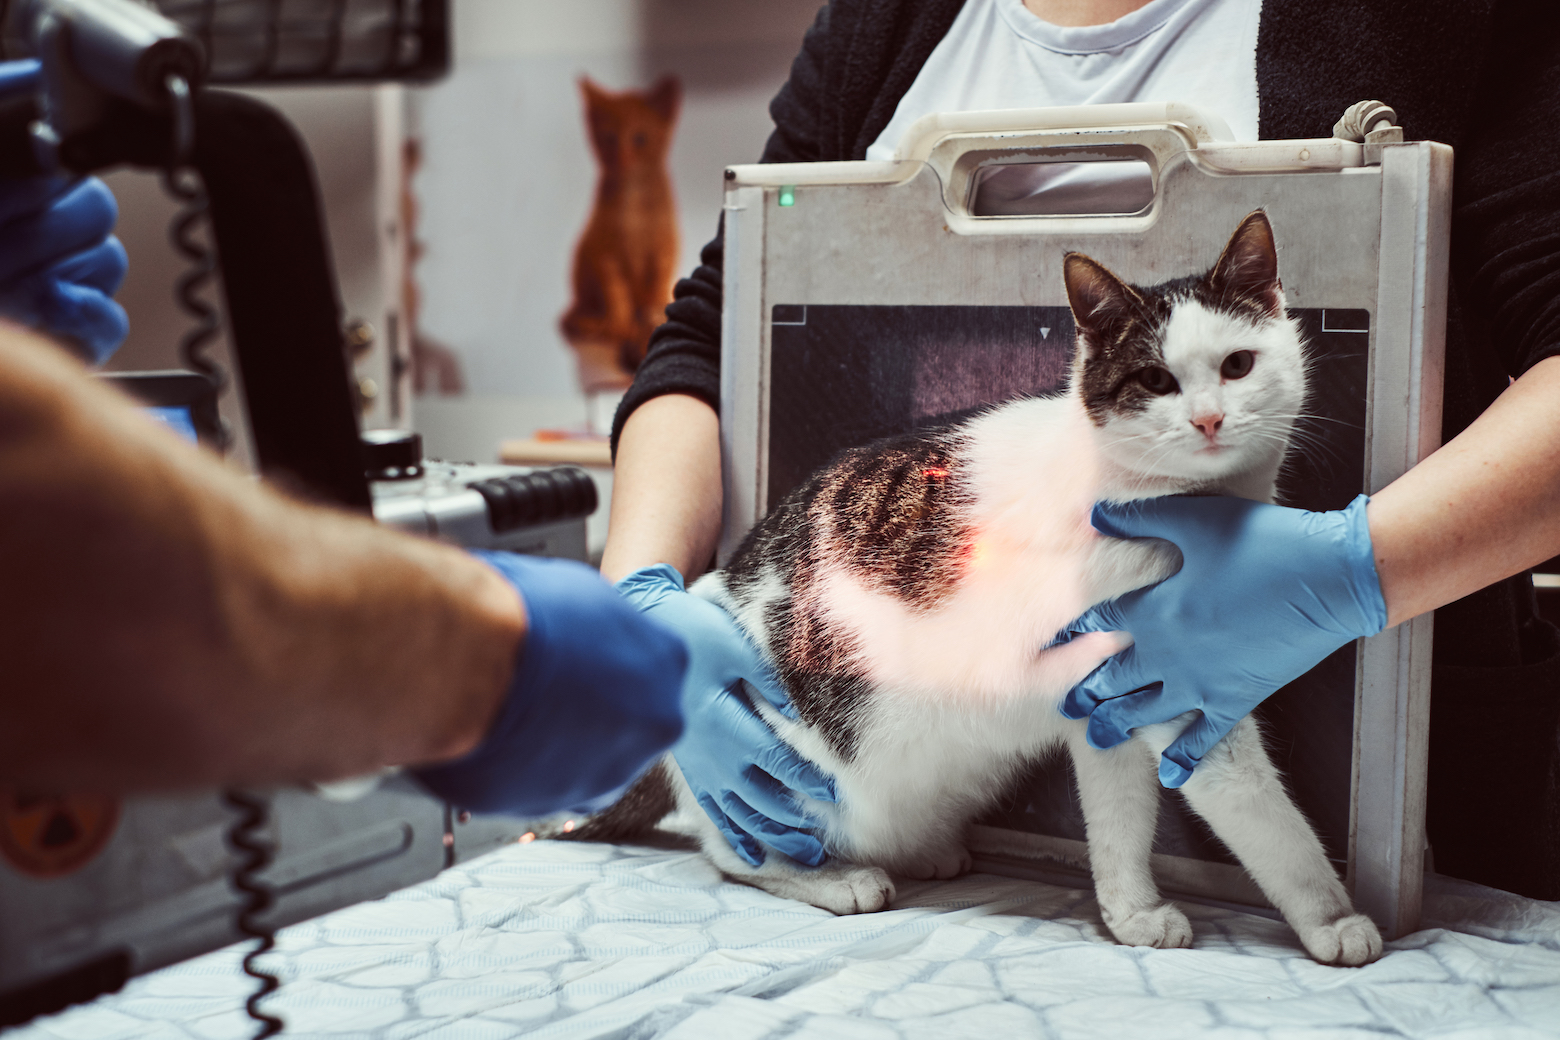
Using the wrong technique or equipment to get an x-ray can lead to fuzzy, out-of-focus images that make it impossible to see what’s wrong with your animal patient. It’s important to keep in mind that not all x-ray machines are created equal. Veterinarians must take into account the size and weight of the animal being imaged, as well as the type of procedure being performed. For example, a smaller machine may be necessary for imaging a cat, while a larger one may be required for imaging a horse. Follow these helpful tips below to make sure you’re getting perfect veterinary x-rays every time from start to finish to avoid blurry x-rays and disappointed clients.
- Position the animal correctly.
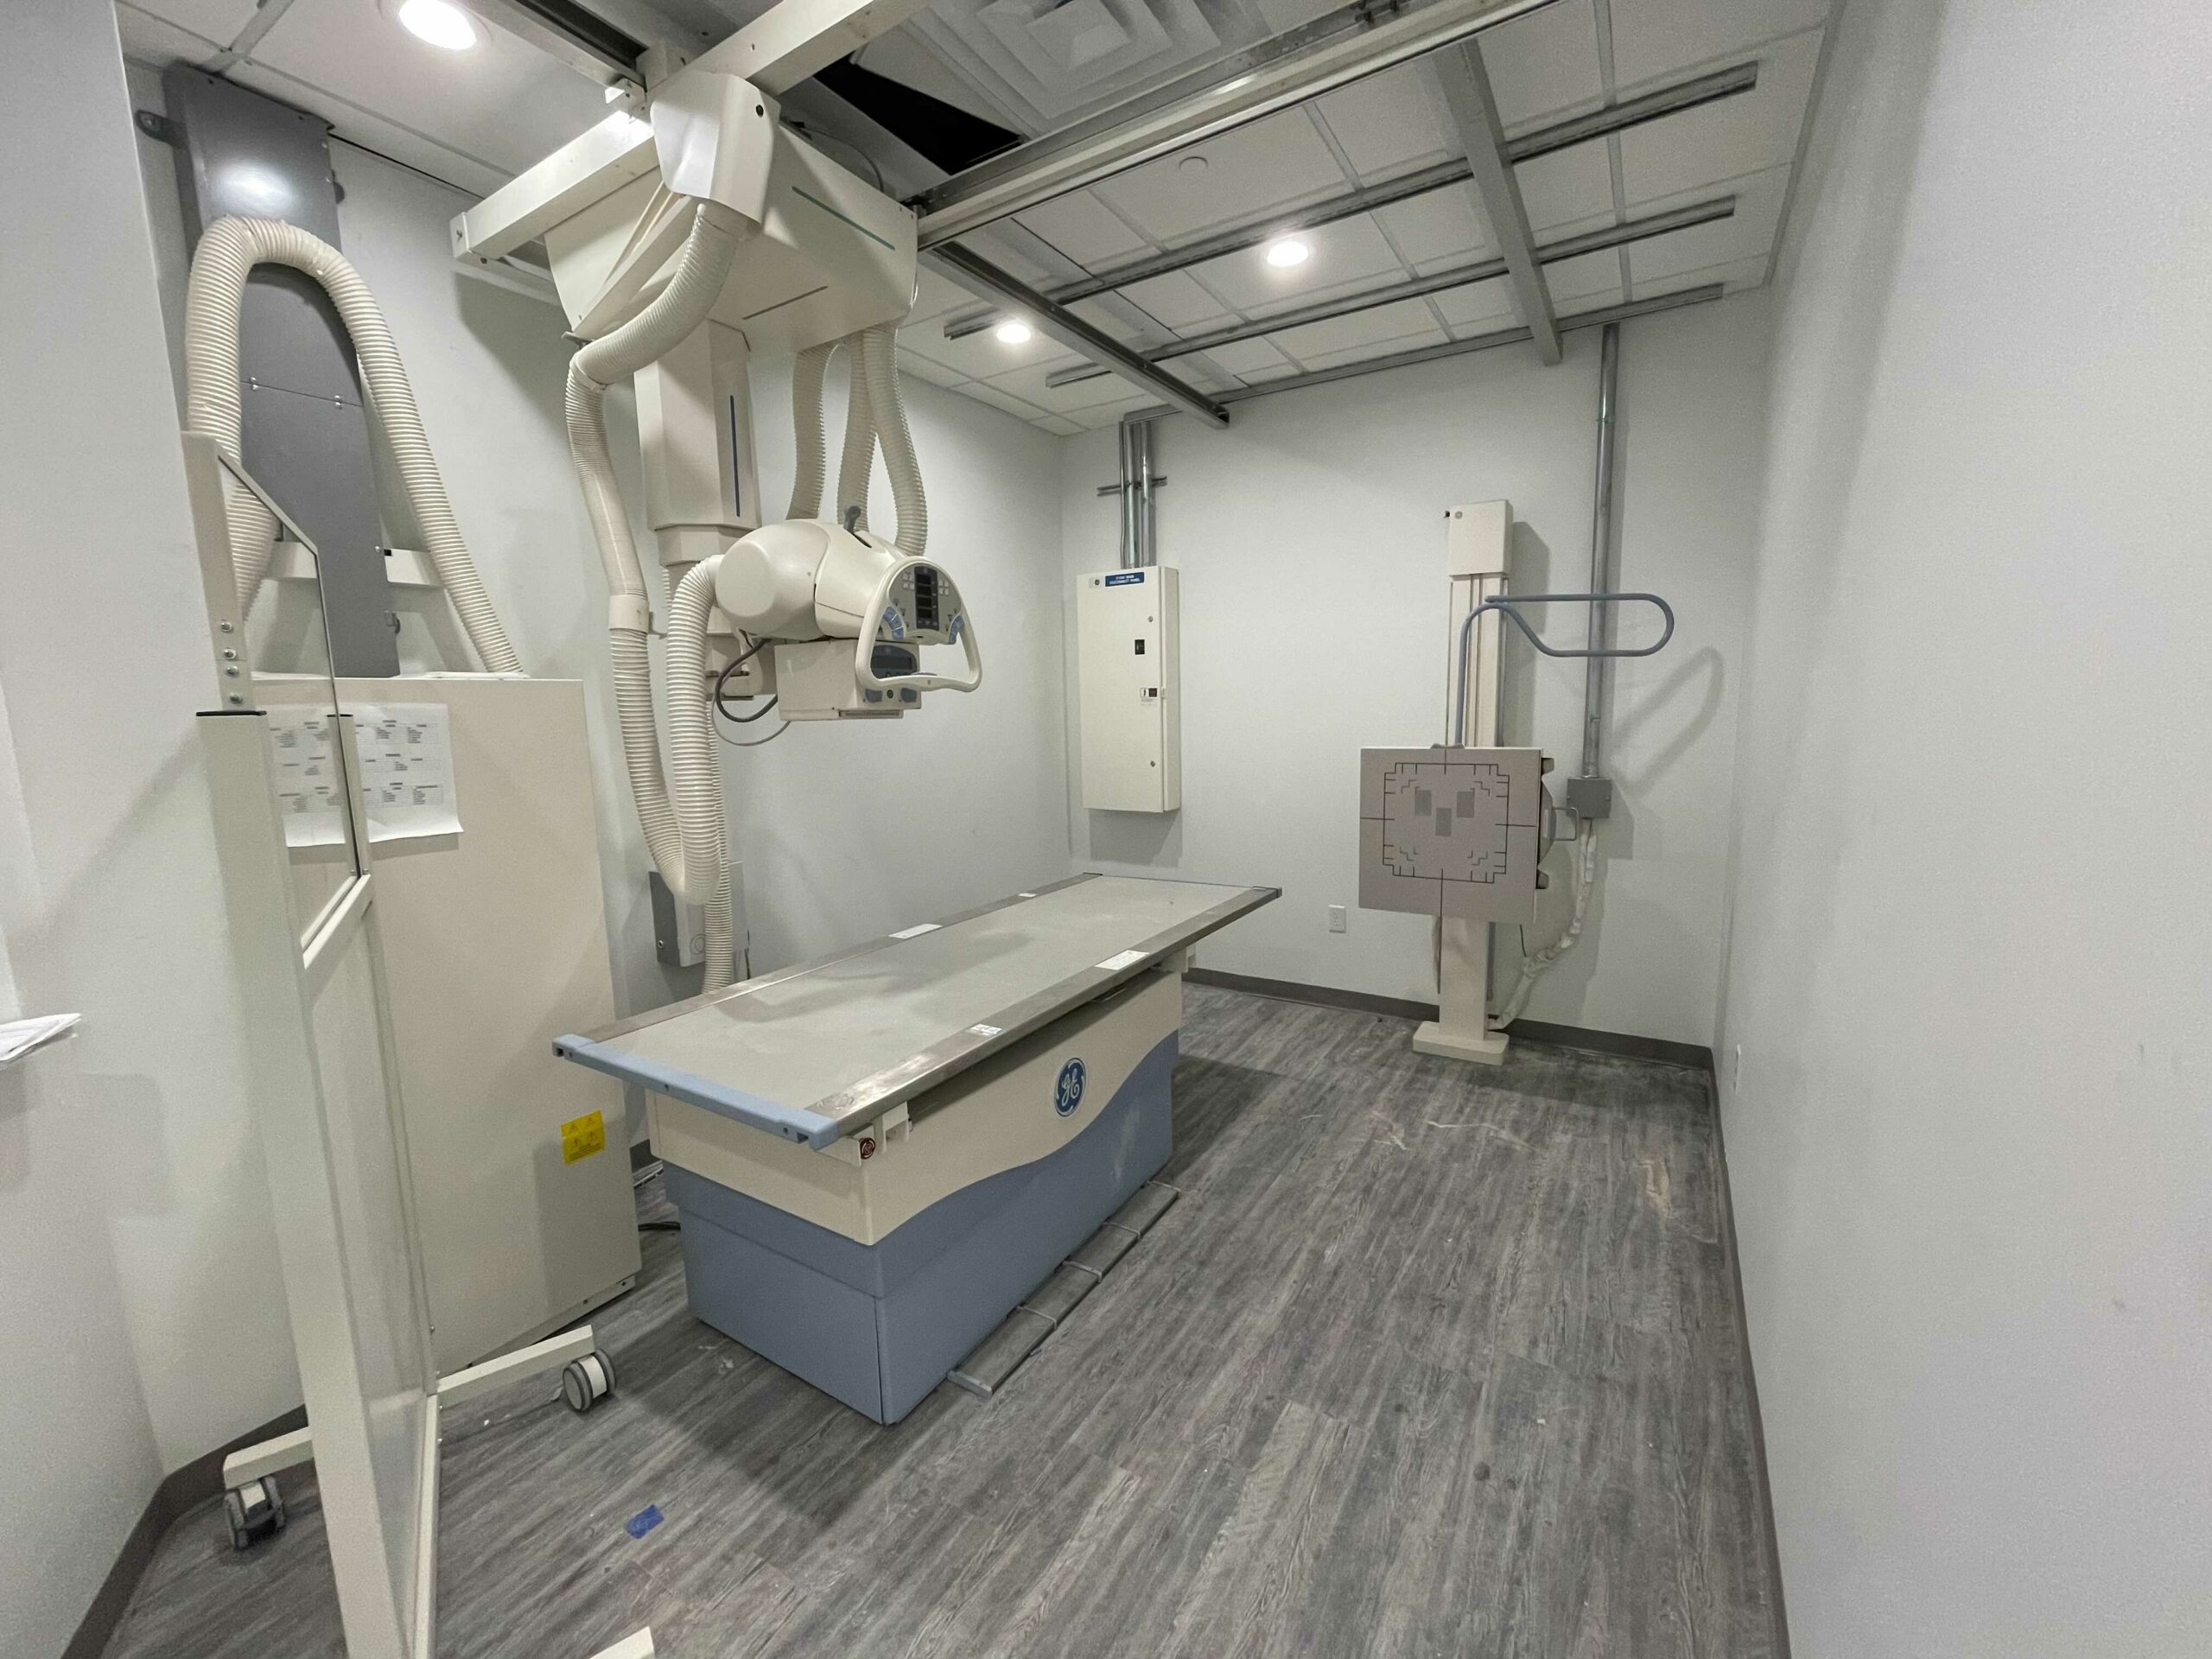
- Choose the appropriate x-ray machine based on animal size and type of procedure.
- Make sure there is no metal inside or around the animal when taking an x-ray image.
- Consider doing field views before proceeding with a full set of veterinary x-rays.
- Make sure the animal is calm and relaxed before taking the x-ray. This will help minimize movement and produce a clear image.
- Position the x-ray machine correctly. The beam should be perpendicular to the animal’s body and centered on the area of interest.
- Use film, CR (Computed Radiography) or DR (Digital Radiography) that has been approved.
- Consult with a certified Field Service Engineer in case of maintenance issues. Do not attempt to fix an equipment issue on your own.
If you’re a new animal vet, you may be wondering how to take perfect veterinary x-rays every time or wondering what the best X-ray systems are for imaging your animal patients. Our medical imaging experts are standing by to help answer any questions you might have and can help with planning your space, maintenance, or financing and renting veterinary imaging equipment.


